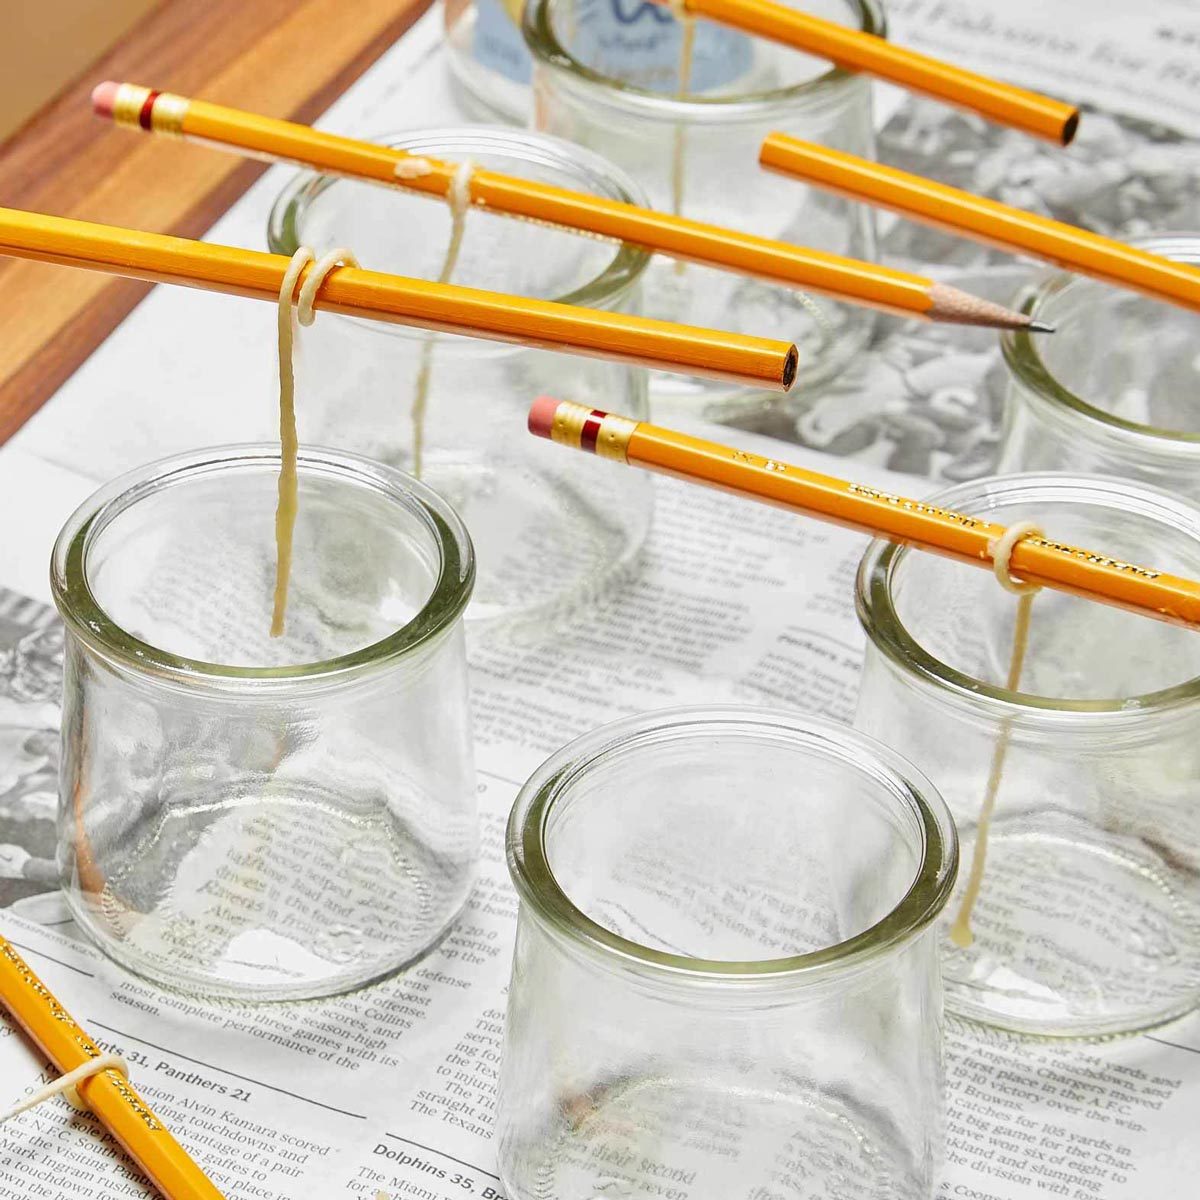
Position the wicks
Advertisement
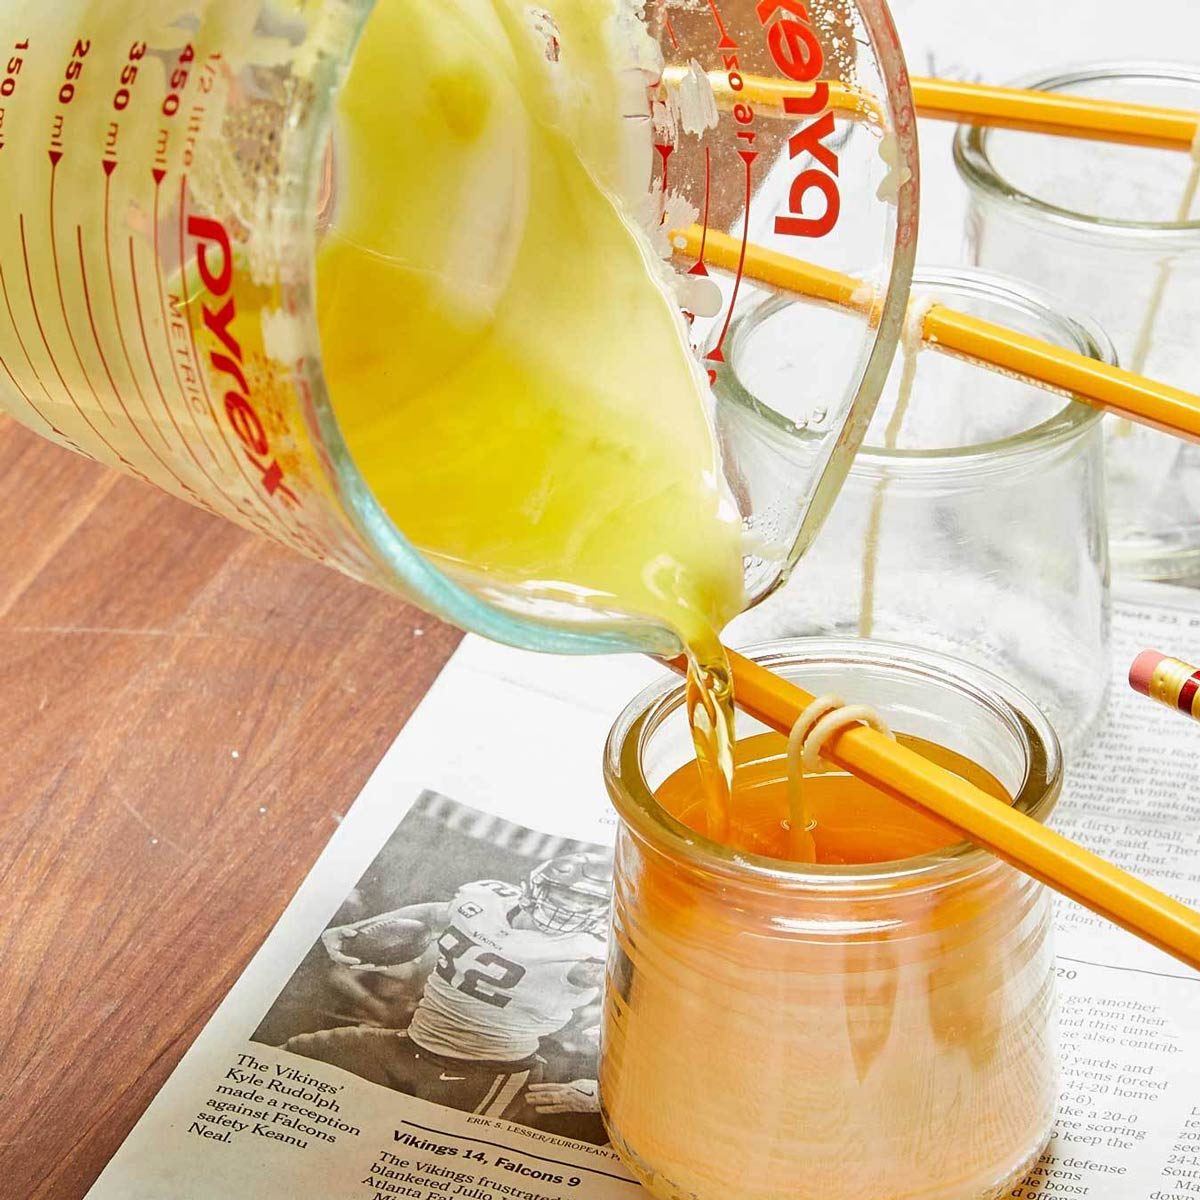
Pour the wax and allow to cool
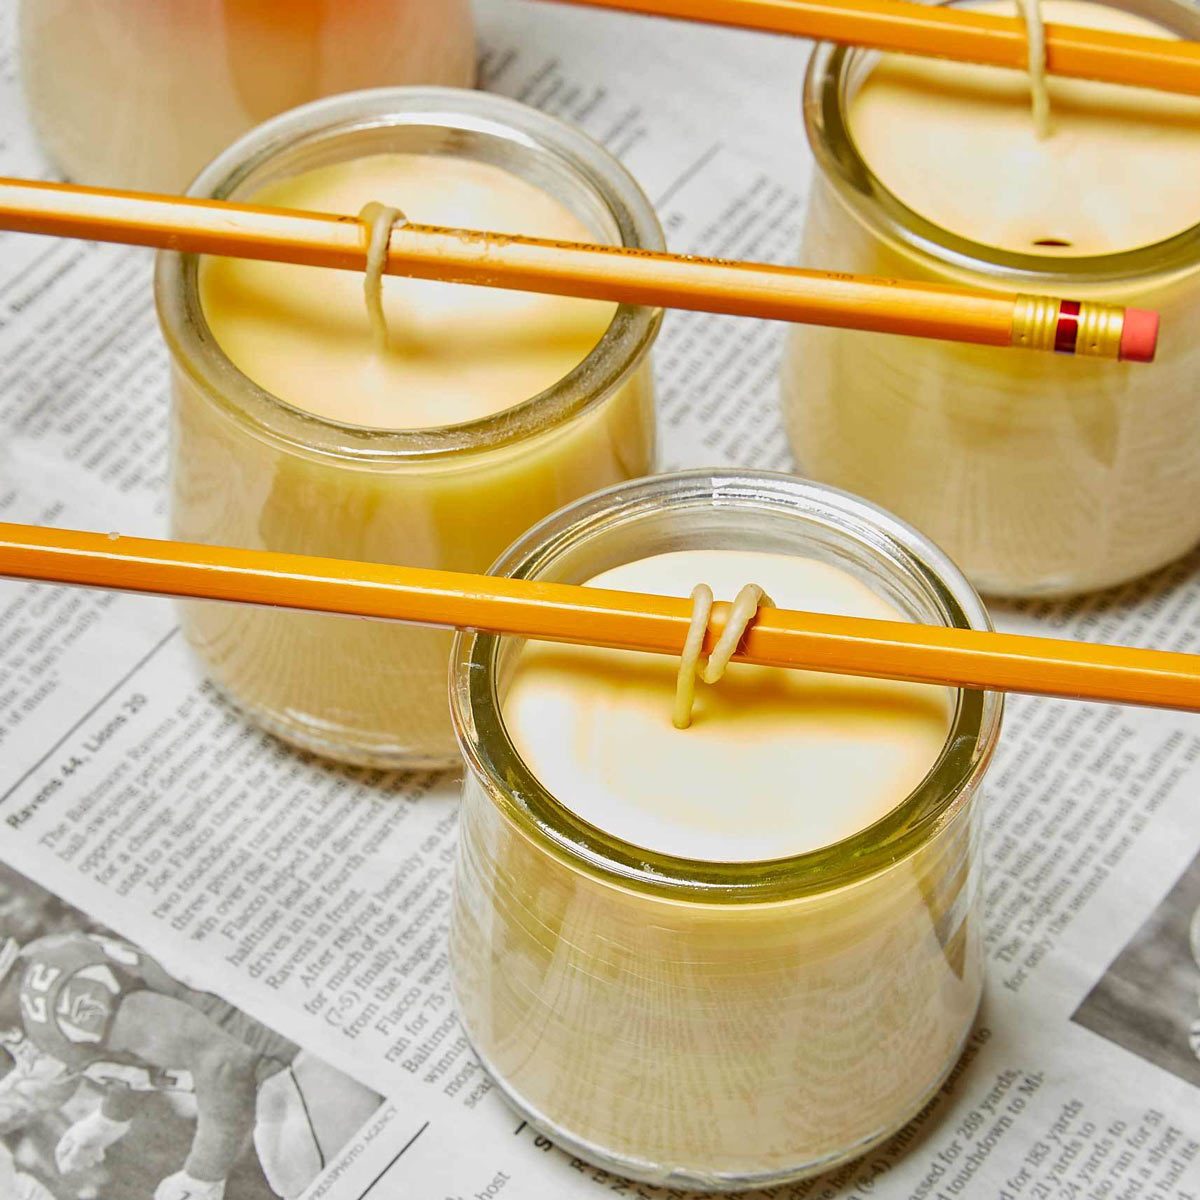
Cut the wicks