
If you find colourful Christmas ribbons enchanting, or just have a stash you’d like to use up, you’ll love this quick and easy holiday ribbon tree.
Materials List
Craft glue
Felt circle, 9.5 cm (33/4 inch) diameter
10 x 23 cm (4 x 9 inch) styrofoam cone
Lengths of different styles and widths of Christmas-themed ribbon, either all green or in colours of your choice
Dressmaker’s pins
Double-sided tape
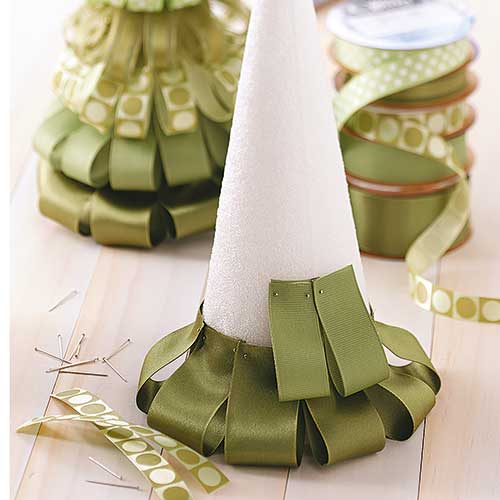
Step 1
Begin by gluing the felt circle to the bottom of the styrofoam cone. Trim different ribbons into strips from 5 to 12.5 cm (2 to 5 inches) long, with each style of ribbon all the same length.
Starting at the bottom of the cone, pin the raw edges of one style of ribbon (starting with the longer 12.5 cm/5 inch strips), about 5 cm (2 inches) from the bottom. Repeat with the same style of ribbon, overlapping the ends as needed to circle the cone completely.
Step 2
Repeat with the remaining strips of ribbon (using the smaller lengths as you near the top) until you have covered the entire cone. At the top, wrap ribbon around the cone to cover the raw ends. Use double-sided tape to make a loop with a 10 cm (4 inch) length of ribbon, and glue the loop to the top of the ribbon tree.
Step 3
Let your creativity loose by creating trees in different sizes and in a variety of colours. If you’re hosting a crafty Christmas get-together with friends, volunteer to provide the cones and basic supplies, and ask each guest to bring a selection of ribbons in different colours and patterns. You’ll have fun creating your own designs from all kinds of ribbons.
Starting at the bottom of the cone, pin the raw edges of one style of ribbon about 5 cm from the bottom
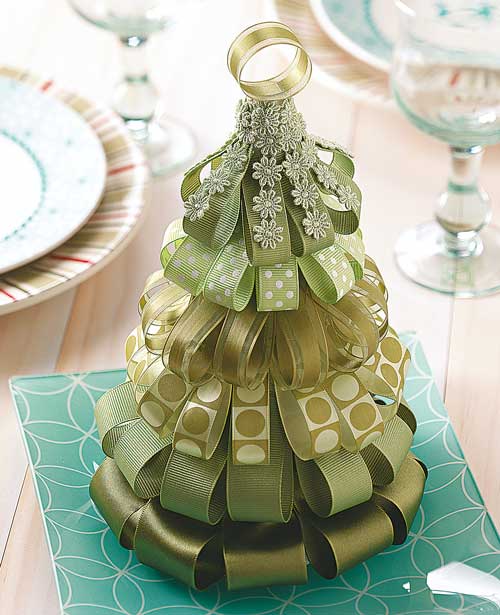
Let your creativity loose by creating trees in different sizes and in a variety of colours
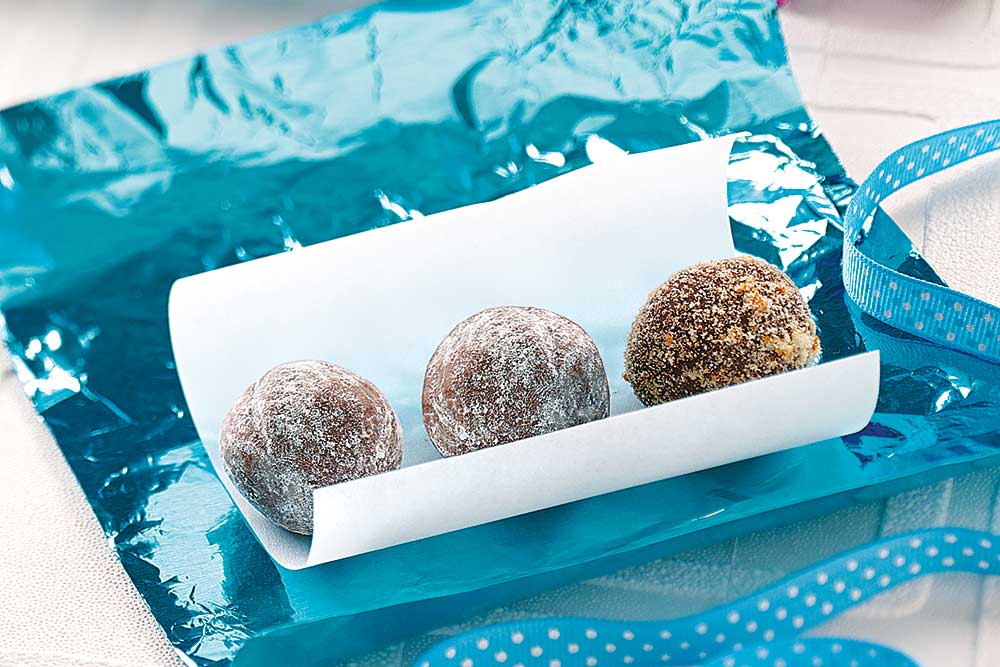
Click here to learn how to make these DIY Christmas Rum Ball Crackers
