We show you how to lay floating floorboards like a professional.
Start the second row of boards with a half board, and make sure you use a tapping block, using a hammer against the edge of a board will only damage it.
For the next board in the second row, knock the longest joint in first. Then tap the other joint together from the end.
Two people on the job speeds up the process.
I’m just holding the two faces of the boards flush so when Frank taps the joint together no damage is caused to the tongue.
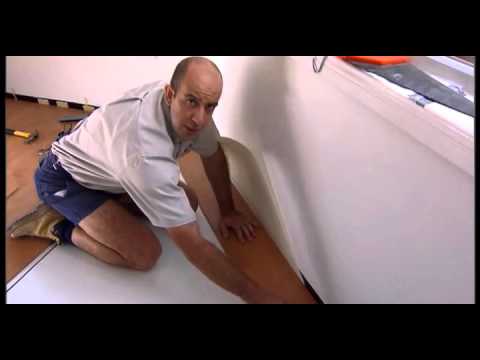
At this corner in the wall, we need to measure this angle.
The simplest way is to set a sliding bevel to that angle. Use a ruler to measure the length from the last board to the end of the corner. Then mark that distance on a board, allowing for the clearance gap, then use the bevel to mark off that angle on the board. Use that to cut it on the drop saw.
For the first board in the next row, if I cut the board just at the angle of the wall, the joints wont line up with the rest of the laid floor.
To ensure the joints line up for a quality finish, I need to measure the distance from the wall to that joint, then mark the angle off at that point of the board. Cut to size with the drop saw.
Follow this procedure for each new row along the angled wall to ensure all the joints line up.
To install the last row of boards, measure from the wall to second last row of boards, deducting the clearance gap from the last row of boards. Make sure you measure both ends of the wall, in case the walls are running out of parallel.
Transfer the measurements to the boards and cut to size.
You wont have enough room at the end of the row to swing the hammer, so use a pull bar to tap the boards into place. There should be a pull bar in your installation kit.