Install a metal roof

Install a metal roof
FAMILY HANDYMAN

With its sleek, modern look, metal panel roofing was our first choice for our cabin roof. It has no visible seams and is maintenance free — even a light rain will wash leaves and sticks off the roof. Even better, it won’t grow moss and algae in its shady, wooded area.

A metal roof will reduce cooling costs by reflecting heat and last 50 to 70 years. Armed with a basic understanding of the anatomy of a metal roof, along with a few tips, you can install one yourself in just a few days.

Pro tip: It’s all about the layers. When it rains, a roof sheds water from one layer to the next until it runs off the roof. Build roof layers the right way and your home will stay dry inside for its entire life.

Advertisement

Apply the underlayment

Apply the underlayment
FAMILY HANDYMAN

The first layer on top of the plywood or OSB roof deck is underlayment. For this, we chose a self-healing ice-and-water membrane to protect the shallow-pitched roof deck.

The tricky part in laying the underlayment is keeping it flat and wrinkle-free. Unroll the underlayment across the roof while removing the bottom half of the adhesive backing. Overlap the previous layer by 15-20cm. Once the underlayment is rolled out, cut it flush and pull the rest of the adhesive backing out from underneath.

Here’s everything you need to know about choosing a new roof.

Order panels to fit

Order panels to fit
FAMILY HANDYMAN

If possible, avoid seams in your roof. They don’t look great, and it could lead to water getting underneath the panels.

I had our metal roofing panels cut to fit the length of our roof.  They were nearly 10m long and had to be delivered on a flatbed trailer. Of course, you’ll need a large lift to hoist the panels on top of the roof. If you don’t have one, you’ll have to order more manageable lengths.

Bend trim ends closed

Bend trim ends closed
FAMILY HANDYMAN

Before you install the trim, cut and bend the leading end to wrap it around the corner. Make a series of 25mm cuts with aviation snips at each bend to create tabs. Fold the tabs in with a hand seamer to meet a wall or a corner, or to close a gap created by the trim. Each trim is a different shape, requiring unique cuts and bends.

Fasten eave trim

Fasten eave trim
FAMILY HANDYMAN

Install the eave trim tight to the fascia and fasten it to the roof deck over the underlayment with 25mm roofing nails. In warmer climates, the eave is attached before the underlayment. We installed ours atop the underlayment to protect the entire roof from ice dams.

Check out our guide to roofing.

Splice and overlap trims

Splice and overlap trims
FAMILY HANDYMAN

Where two trim ends meet, you’ll splice them together. First, cut the bottom hem of the underlapping trim at an angle. After installing the underlapping trim, apply sealant on top. Pry open the bottom hem of the overlapping trim and slide it over the angle-cut hem of the underlapping trim.

Snap a square reference line

Snap a square reference line
FAMILY HANDYMAN

A square reference line is important for installing roofing panels evenly. Use the 3-4-5 method to establish a reference line 90 degrees to the eave.

First, make a mark along the eave three metres (or any multiple of three) from the corner. At that mark, measure four metres (or the same multiple of four) toward the ridge. Then, from the original corner, measure five metres (or the same multiple of five) and mark where it intersects the second mark.

Snap a line from the first three-metre mark through the intersection of the second and third marks. For this cabin, we measured it in feet, and as it was large, we measured to 21 feet, 28 feet and 35 feet (seven times three, four and five) to make our square reference line.

Learn how to get the measure of any DIY job, big or small.

Set the panels

Set the panels
FAMILY HANDYMAN

Place each metal panel on an inside foam closure strip. These strips are shaped to fit the corrugated underside of the panel and keep bugs and water from getting underneath.

Position the closure strips along the eave about 25mm from the edge and stick them to the panels with butyl tape. Run a bead of sealant on top of the closure strip, then set your panel so it overhangs beyond the eave by 25mm. Adjust the panel so any measurement from it to the reference line is the same at the top and bottom.

Drive screws just right

Drive screws just right
FAMILY HANDYMAN

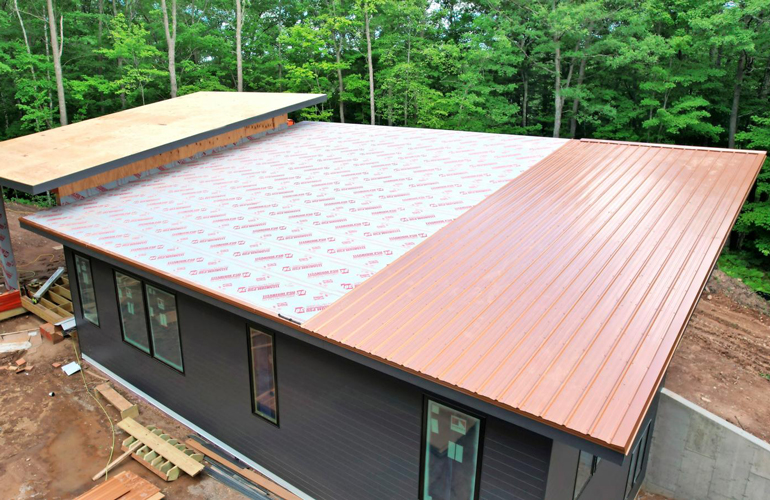
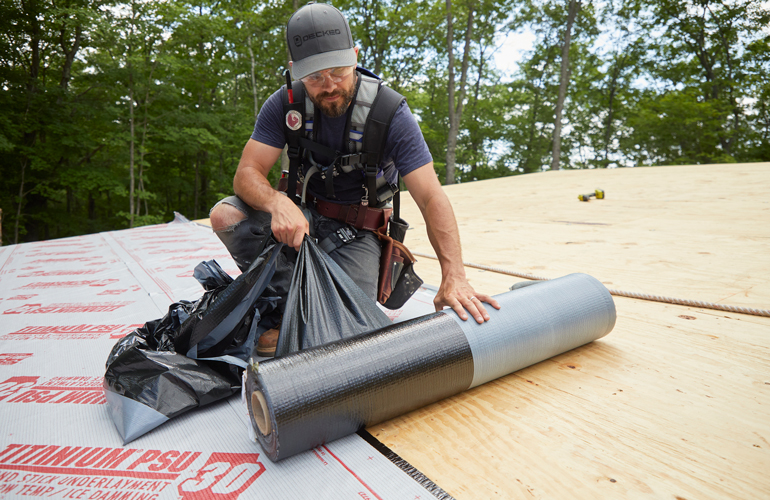
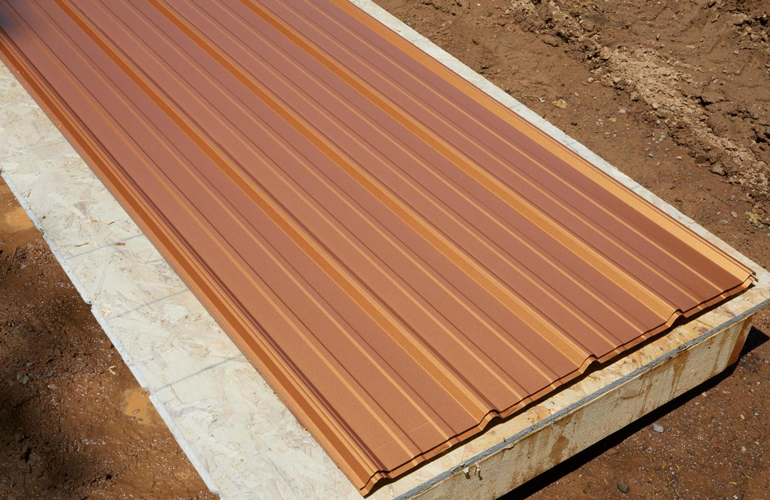
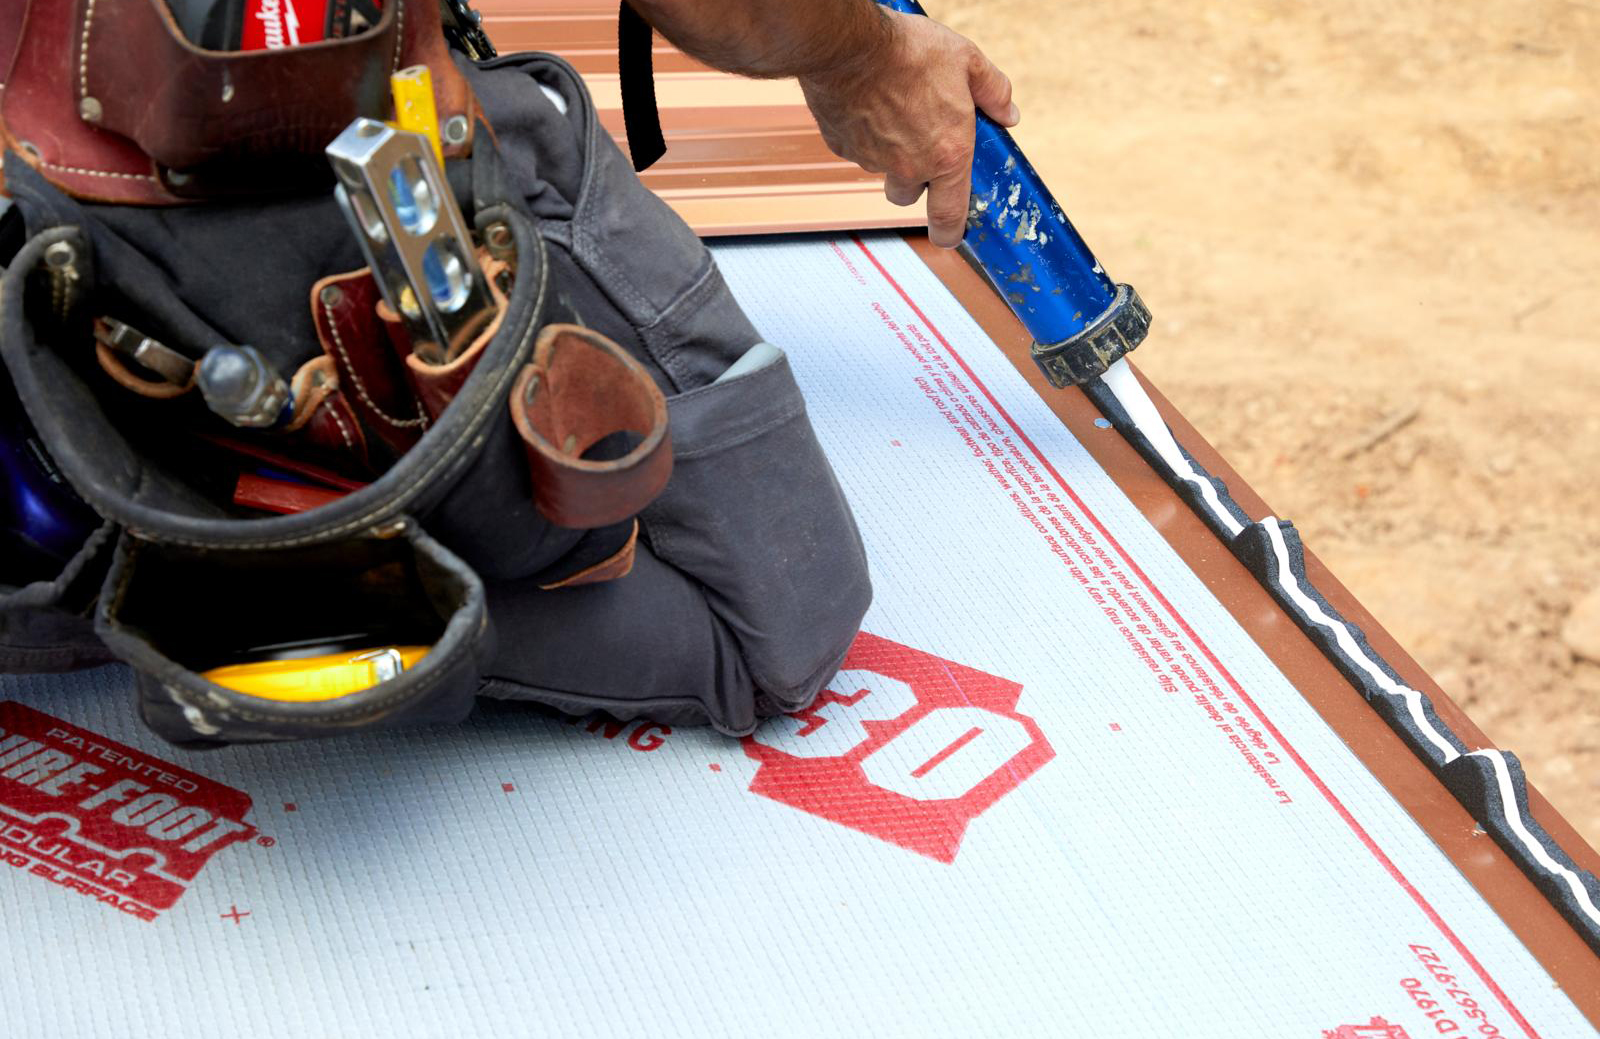
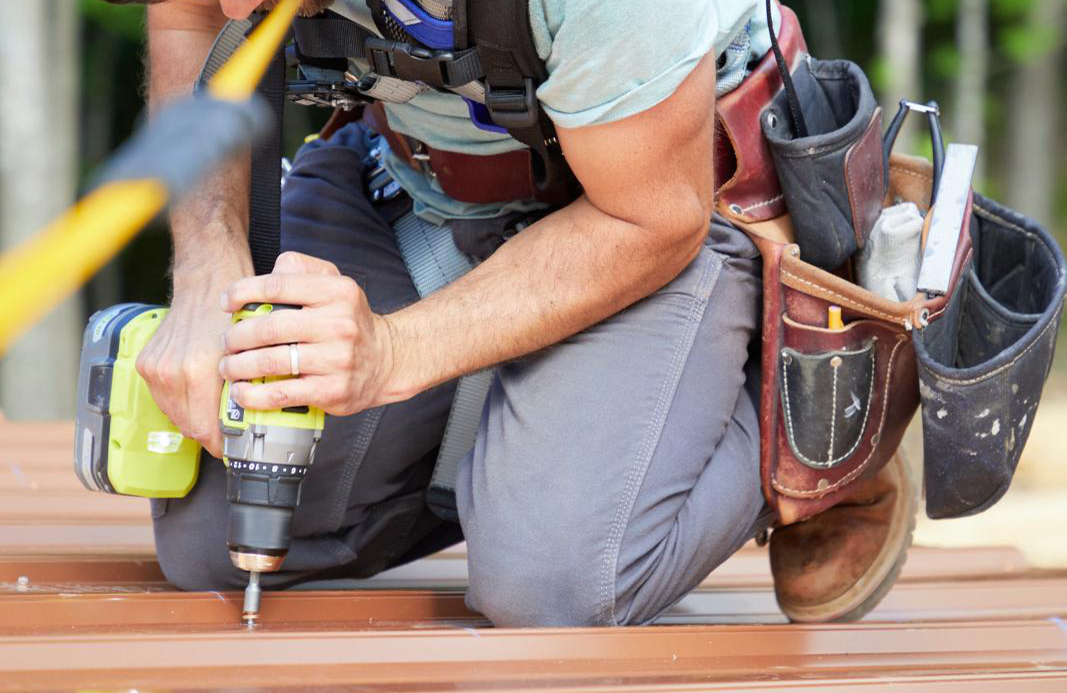
Fastening the panels just right is the key to a watertight roof. Here is what you should know:

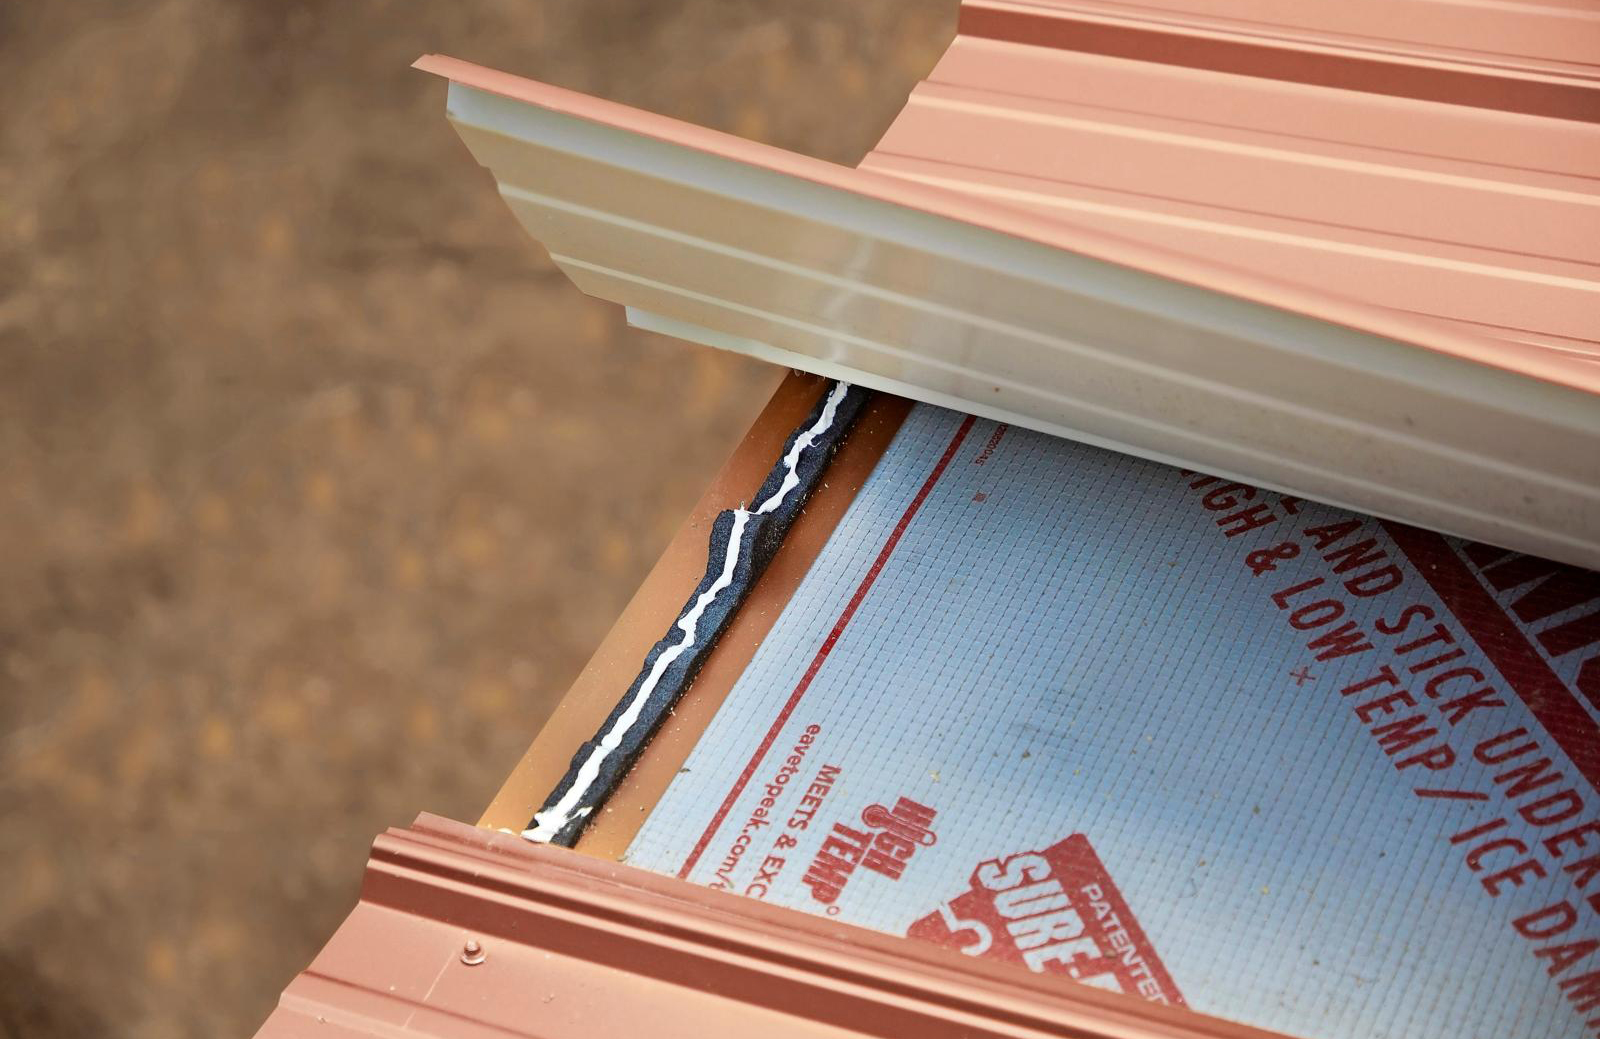
At the eave, place screws on both sides of every rib and lined up to go through the foam closure strip.

Each row should be spaced no more than 60cm with one screw at each rib on the overlapping side.

Start at the bottom, fastening across the panel in rows, working toward the ridge.

Drive screws to seat flat on the roof; a crooked screw won’t seal.

Don’t over-tighten or under-tighten. Tighten just enough to compress the rubber gasket to the edge of the screw head, not past it.

Clean up any metal shavings or burrs right away. They will rust.

Overlap the panels

Overlap the panels
FAMILY HANDYMAN

The two edges of the metal panels are different. The edge that overlaps has a shorter rib leg that doesn’t contact the roof surface when laid flat. The rib on the underlapped side has a drainage or anti-syphon channel to keep water moving toward the eave. Overlap the last rib on each panel; they should nest together perfectly.

Sign up for emails