Stylish concrete patio

Stylish concrete patio
FAMILY HANDYMAN

Tools required

Circular saw or mitre saw

Drill

Hand edging tool

Hard trowel

Magnesium float

Materials required

1-by stakes

2x4s

Concrete

Decorative rock

Landscape edging

Rebar

Rebar chairs

Sand

Advertisement

Step 1: Prep the site

Step 1: Prep the site
FAMILY HANDYMAN

Remove any existing sod, giving yourself a little extra room around the edges to make it easier to place the form and screed the concrete.

Scrape, rake and shovel the patio area to make it as level as possible. Depending on the grade and the finished height of your patio, you may need to add some sand fill.

Lay out the patio’s footprint with stakes and string. Make sure all the math works out and that the footprint is square.

Here are the 11 best tips for planning patios, decks, outdoor kitchens and bars.

Step 2: Build the forms

Step 2: Build the forms
FAMILY HANDYMAN

Assemble the form in sections.

Stake the forms in place using 1-by stakes between the 2x4s. The stakes created a gap to get the width we wanted, and we also used them to level the forms.

Step 3: Level the form

Step 3: Level the form
FAMILY HANDYMAN

Lift and adjust the form to make it level, then screw it to the stakes. Once you’re satisfied, cut the stakes flush with the top of the form.

Pro tip: We left the gaps open between the 2x4s, realising too late that they’d fill with concrete. This made it difficult to remove the forms after the concrete was set. To avoid that, we recommend covering the gaps with duct tape before pouring. Also, fill in sand up to the bottom of each individual paver space so the concrete doesn’t flow underneath the form, filling the gaps from below.

Watch our video on how to lay pavers.

Step 4: Set and tie rebar

Step 4: Set and tie rebar
FAMILY HANDYMAN

Lay a rebar grid in each cavity, tying the intersections.

Set the rebar grids on specially made “chairs” to elevate the rebar into the slabs.

Step 5: Oil the forms

Step 5: Oil the forms
FAMILY HANDYMAN

Spray or brush the forms with kerosene, diesel fuel or cooking oil. This makes it easier to remove the forms after the concrete has set.

Step 6: Fill the forms

Step 6: Fill the forms
FAMILY HANDYMAN

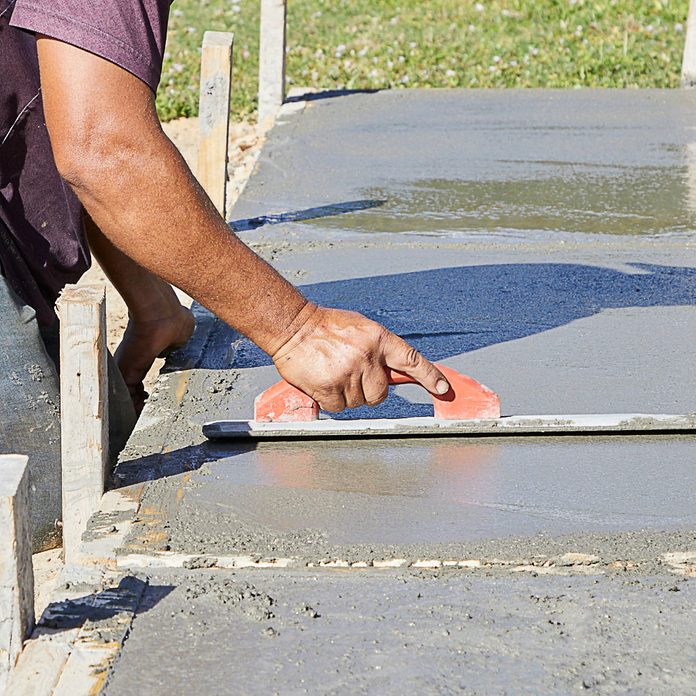
Fill each form, starting in the corner closest to the house.

Pro tip: The easiest way to do this is to hire a pump truck. The hose is heavy, but not nearly as much work or headache as trying to run a wheelbarrow over the grid. We used fibre-reinforced concrete to ensure these slabs won’t crack.

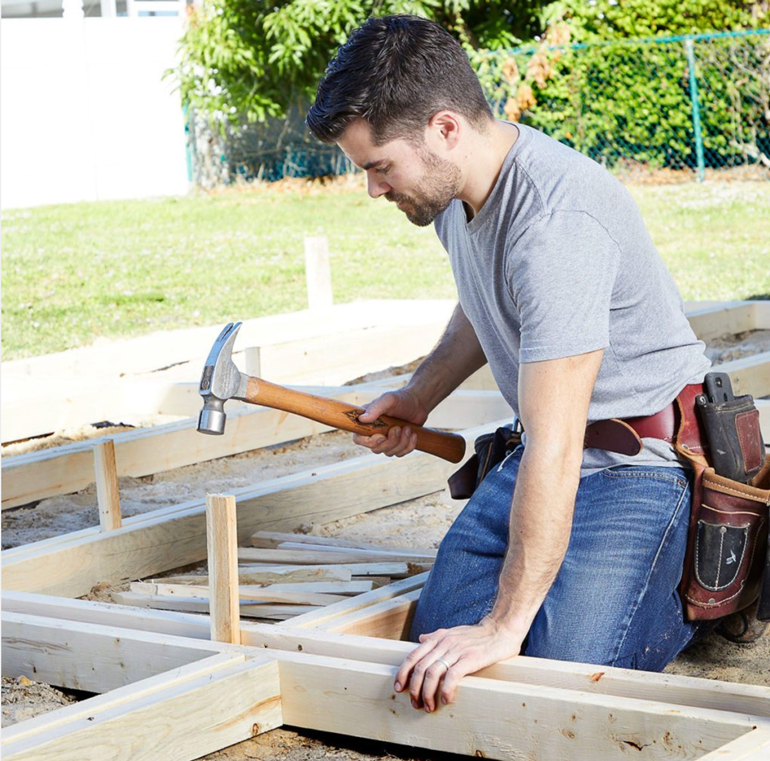
Pro tip: We built forms, ordered ready-mix concrete and poured the entire patio at once. If that’s too daunting, you can build one or two small form sections and pour them individually at a more leisurely pace. If you choose that route, consider buying a portable mixer and selling it when you’re done.

These are the 12 most common mistakes when pouring concrete.

Step 7: Screed the concrete

Step 7: Screed the concrete
FAMILY HANDYMAN

Have a helper screed each section after it’s filled.

Our patio is large, and pouring the forms progresses quickly, so a crew of four is best to perform all the tasks before the concrete sets.

Pro tip: The person doing the screeding should be limber, as they’ll likely end up crawling around on the form grid a bit no matter how well you’ve planned the process.


Step 9: 'Float' the surface

Step 9: 'Float' the surface
FAMILY HANDYMAN

After the bleed water has disappeared, float each section with a magnesium float. Floating embeds coarse aggregate particles and smooths the surface without sealing it.

Pro tip: Before our concrete set up too much, we measured for the post anchors and installed them for the pergola.

Step 10: Round the edges

Step 10: Round the edges
FAMILY HANDYMAN

Once the concrete begins to stiffen, start rounding over the edges of the pavers with a special edging tool. You’ll need to move quickly – there’s a lot of edging to be done!

Learn how to lay timber edging.

Sign up for emails