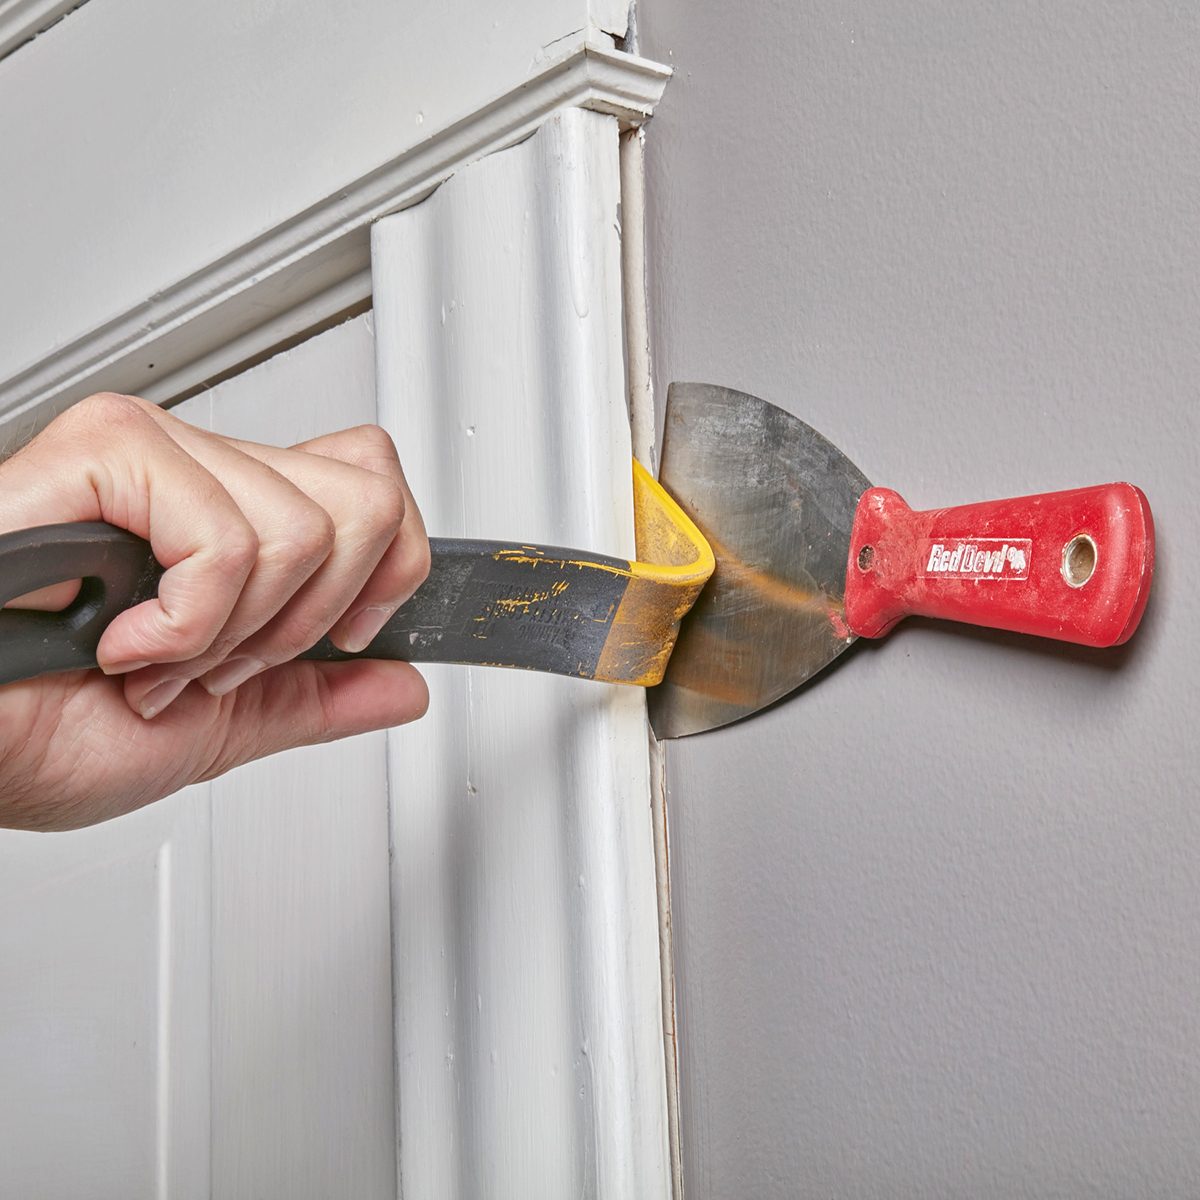
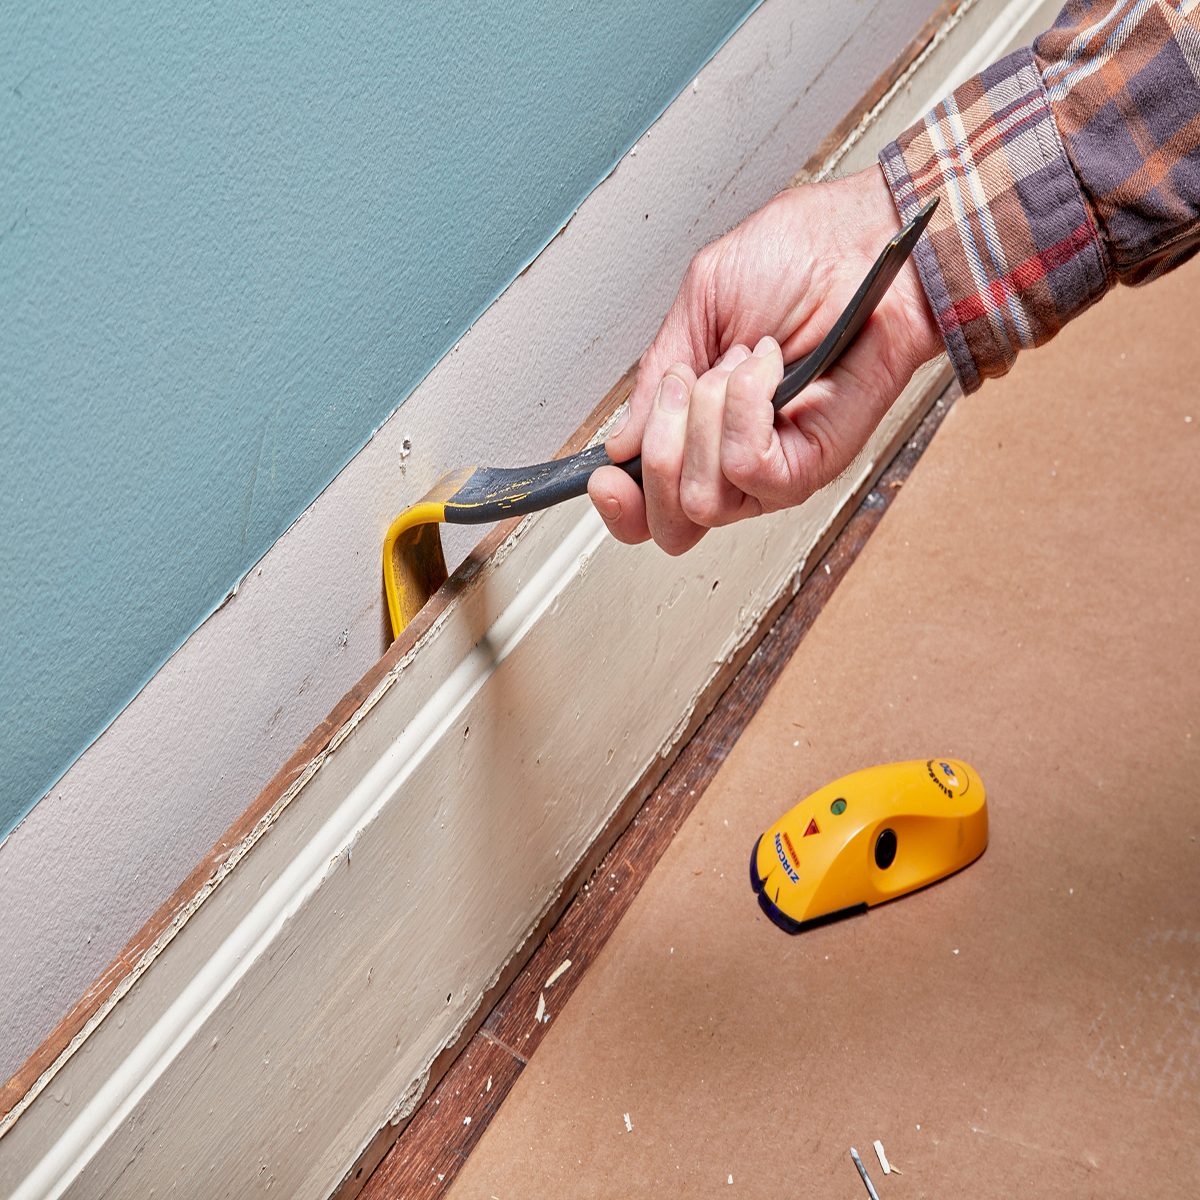
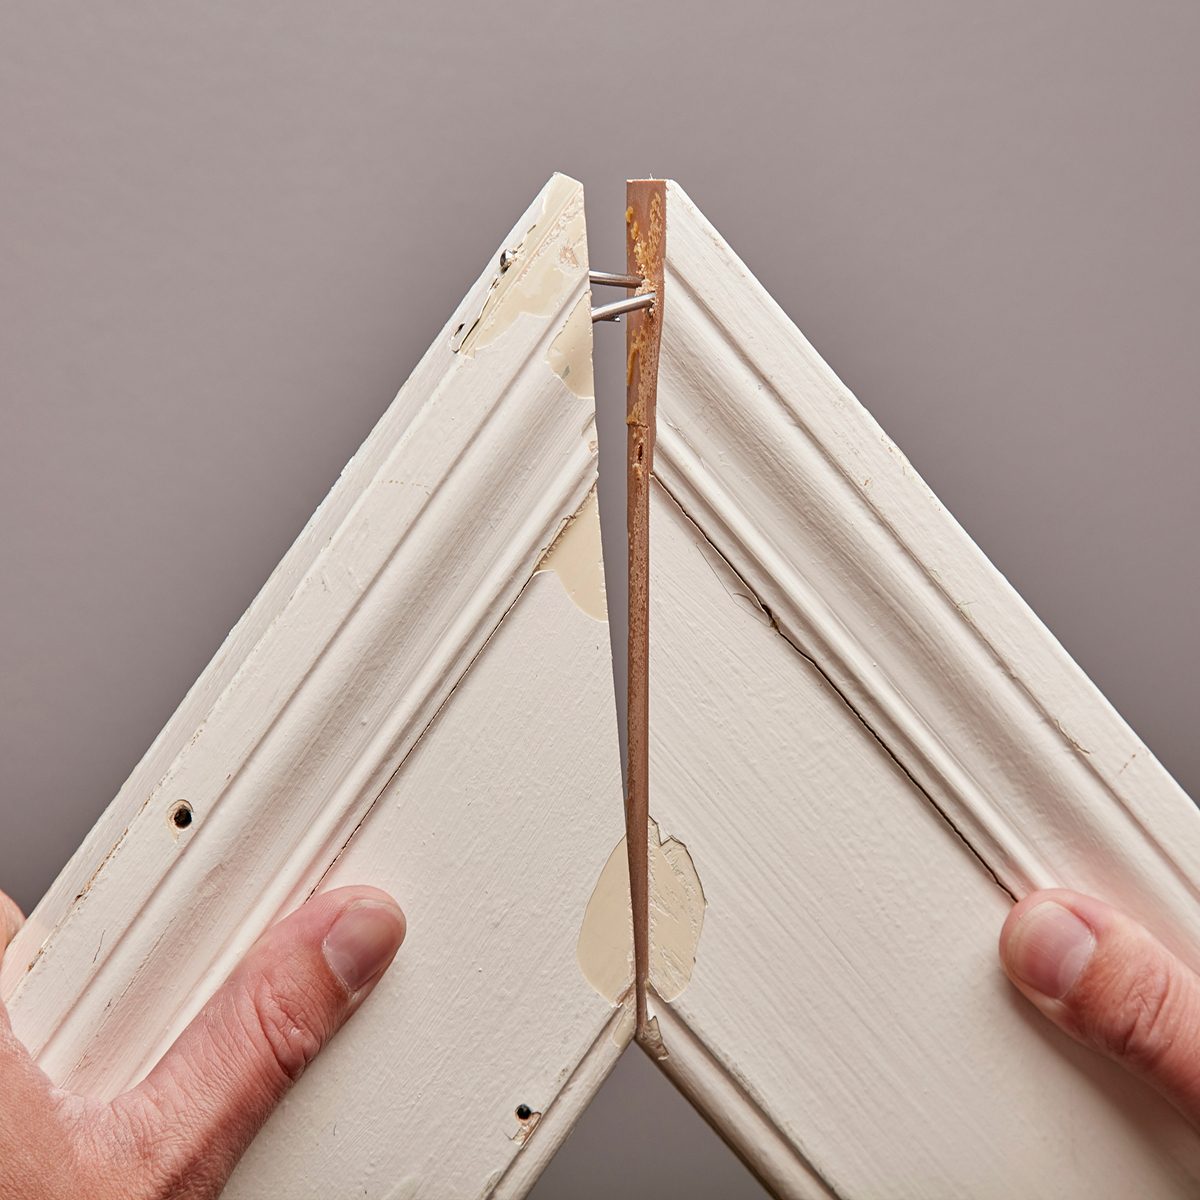
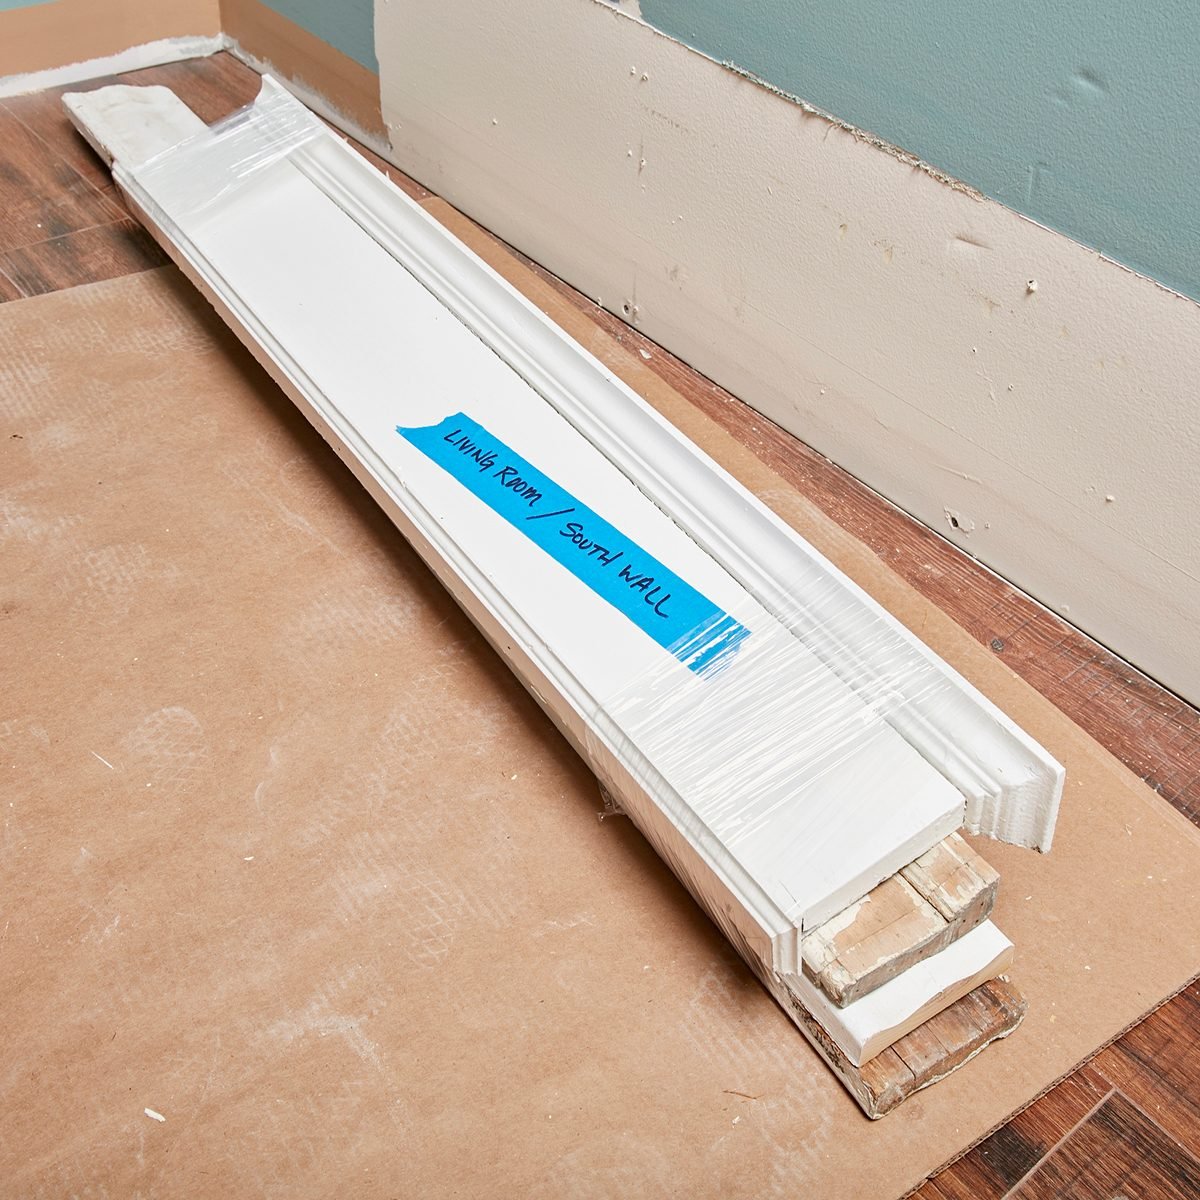
Remove trim without damaging it (or the wall)

Advertisement
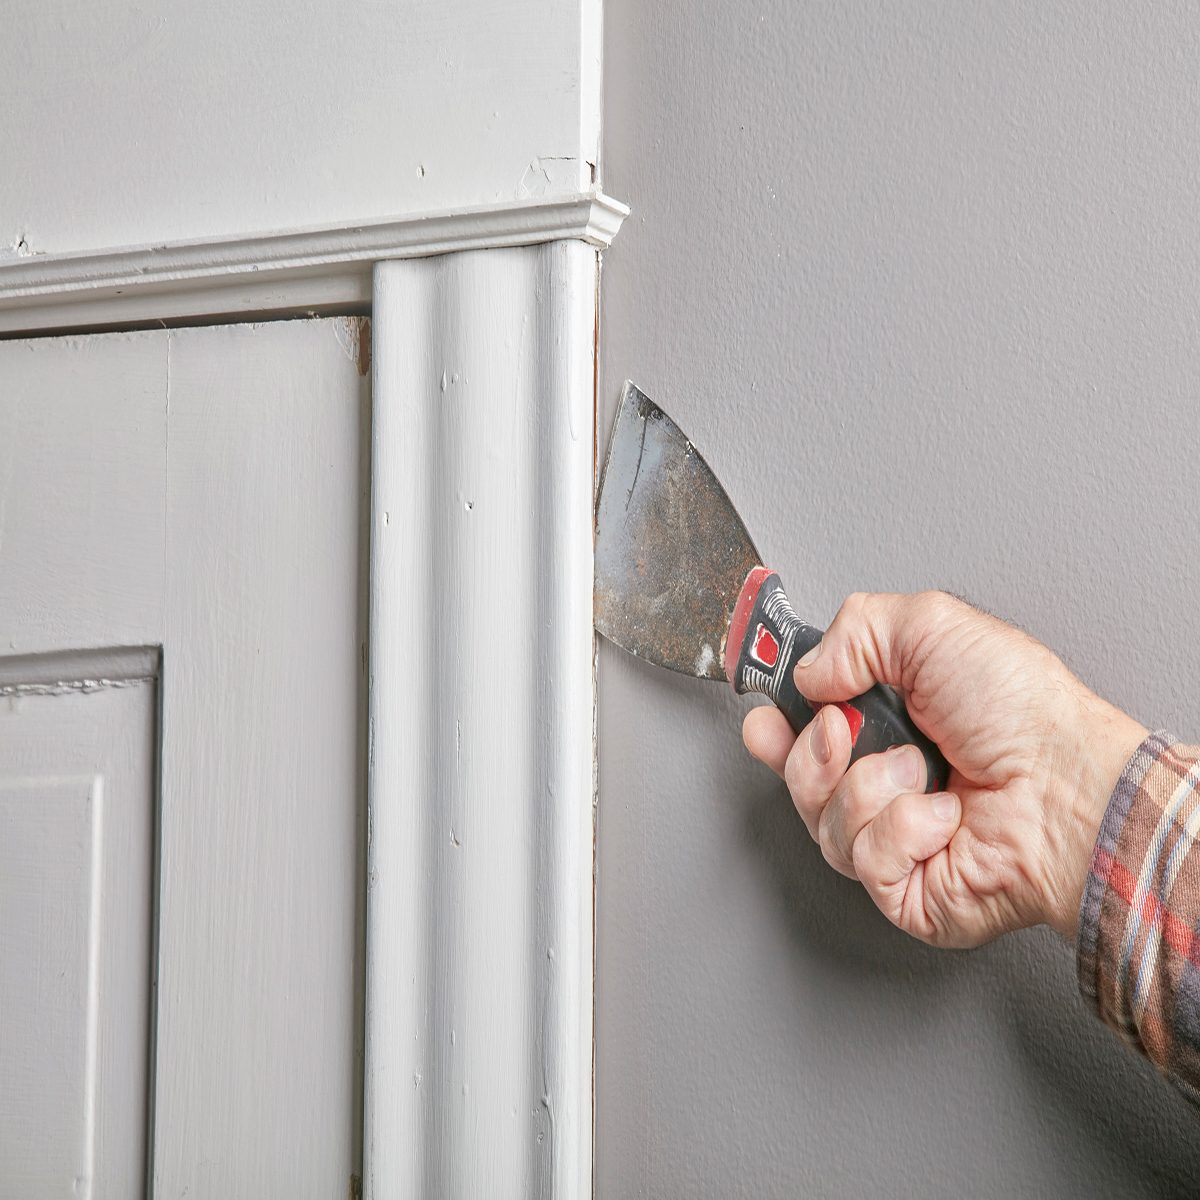
Slice the paint away from the wall
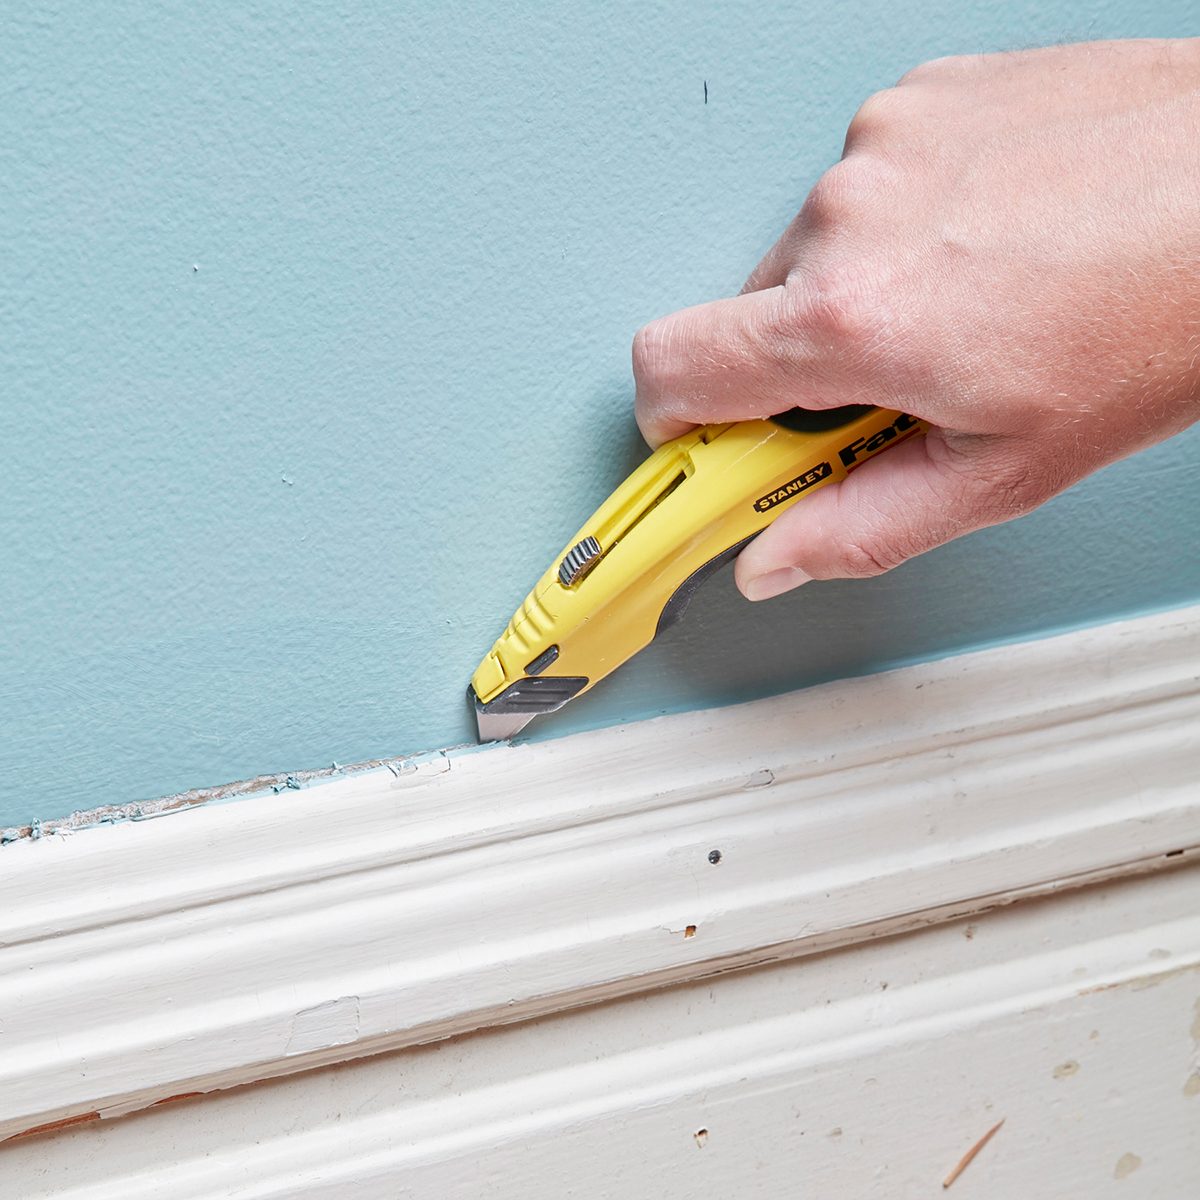
Start with a putty knife