The basics
Trim nailers are categorised by the thickness or “gauge” of the nails they shoot: The bigger the gauge number, the smaller the nail (seems backward, doesn’t it?). Nailers that shoot the biggest trim nails – 15 and 16 gauge – are usually called “finish nailers.” Midsize 18-gauge nailers are called “brad nailers.” The smallest nailer, the 23-gauge, is usually called a “pinner” or “micro pinner.”
15-gauge finish nailer
This is the gun I usually grab for nailing large 20mm-thick baseboard and trim. It’s also a good choice for more demanding jobs like nailing doorjambs or stair treads. These nailers have a large piston, and because of the extra bulk, often have angled magazines so you can get into tight spots.
16-gauge finish nailer
Like 15-gauge nailers, most 16-gauge guns shoot nails up to 6cm long and are suitable for thick trim. The main advantage of a 16-gauge gun is that it’s smaller and lighter. If you’re shopping for a finish nailer, I’d recommend the larger 15-gauge gun, simply because the fatter nails provide more holding power. But some carpenters disagree with me. You’ll pay about the same for a name-brand 16-gauge nailer as you would for a 15-gauge gun.
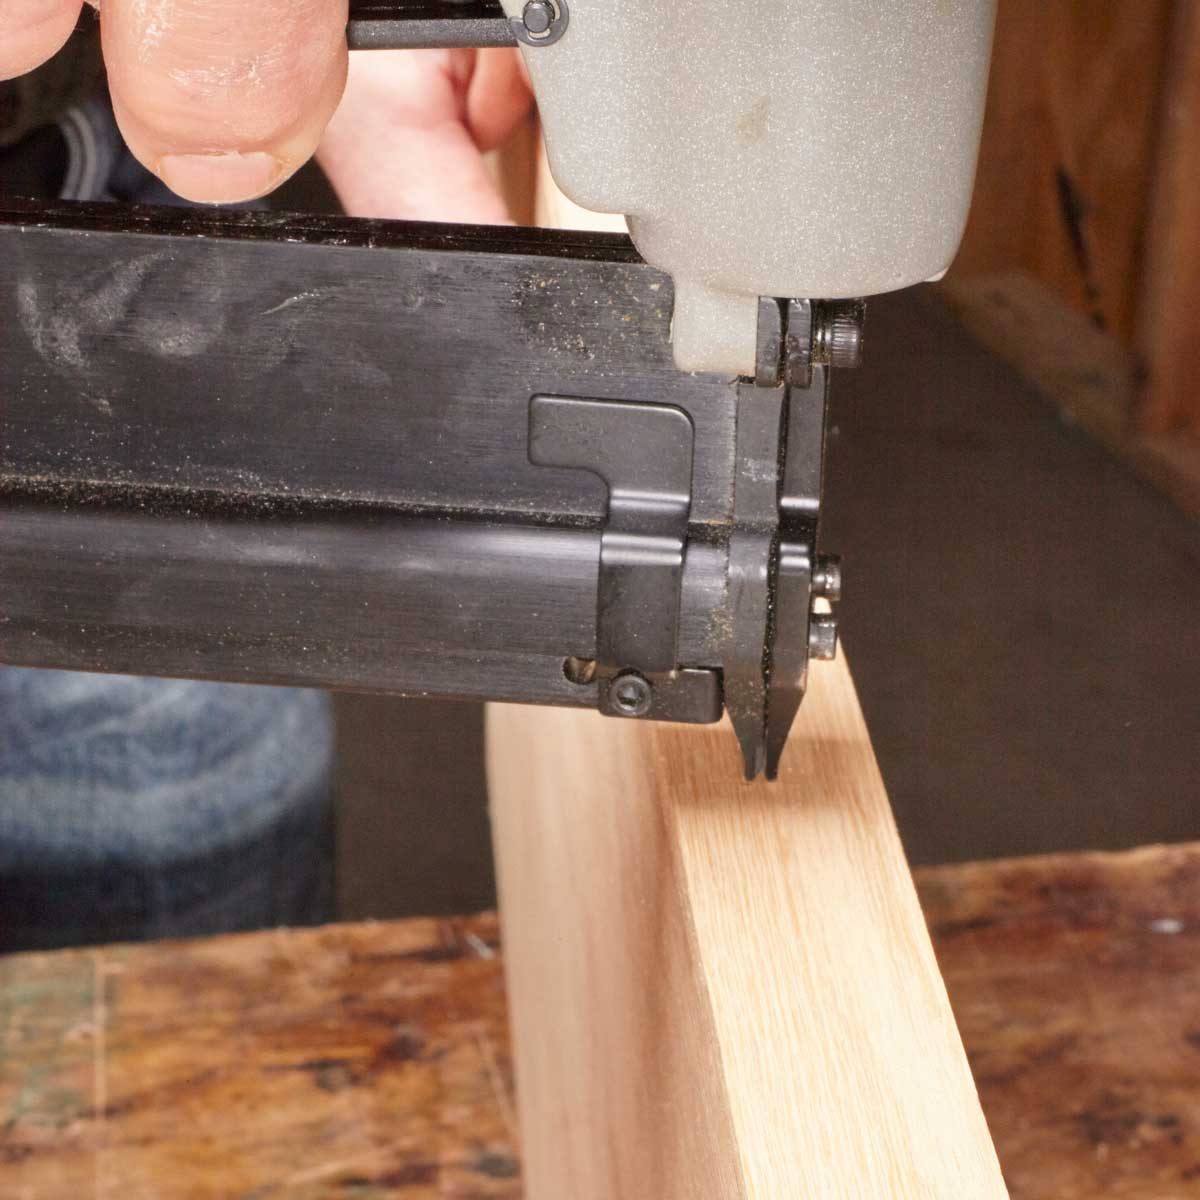
18-gauge brad nailer
If you plan to buy only one trim nailer, this is the size to get. I use mine more than all my others combined. It’s perfect for standard trim, furniture making and odd jobs around the shop. Models that shoot brads up to 3cm are common, but I strongly recommend spending a few bucks more for a gun that can handle brads up to 5cm long.
23-gauge pinner
This is the nailer I use the least. Those tiny pins just don’t have enough holding strength for most jobs. But don’t get me wrong – there are times when pins are perfect, especially to nail small parts. My pinner shoots pins ranging from 1.2cm-2.5c, long. That’s long enough for most jobs, though I occasionally wish I had a model that could handle pins up to 5cm long, which are more expensive.
Fasteners
Smaller-gauge nails usually come in packs that load vertically. 16-gauge nails usually come in packs that load at an angle.