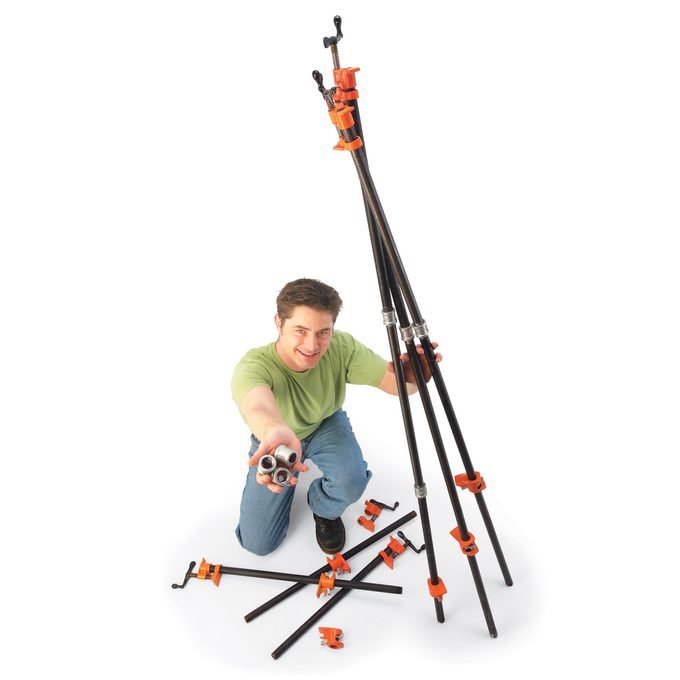
Stabilise longer boards

Advertisement
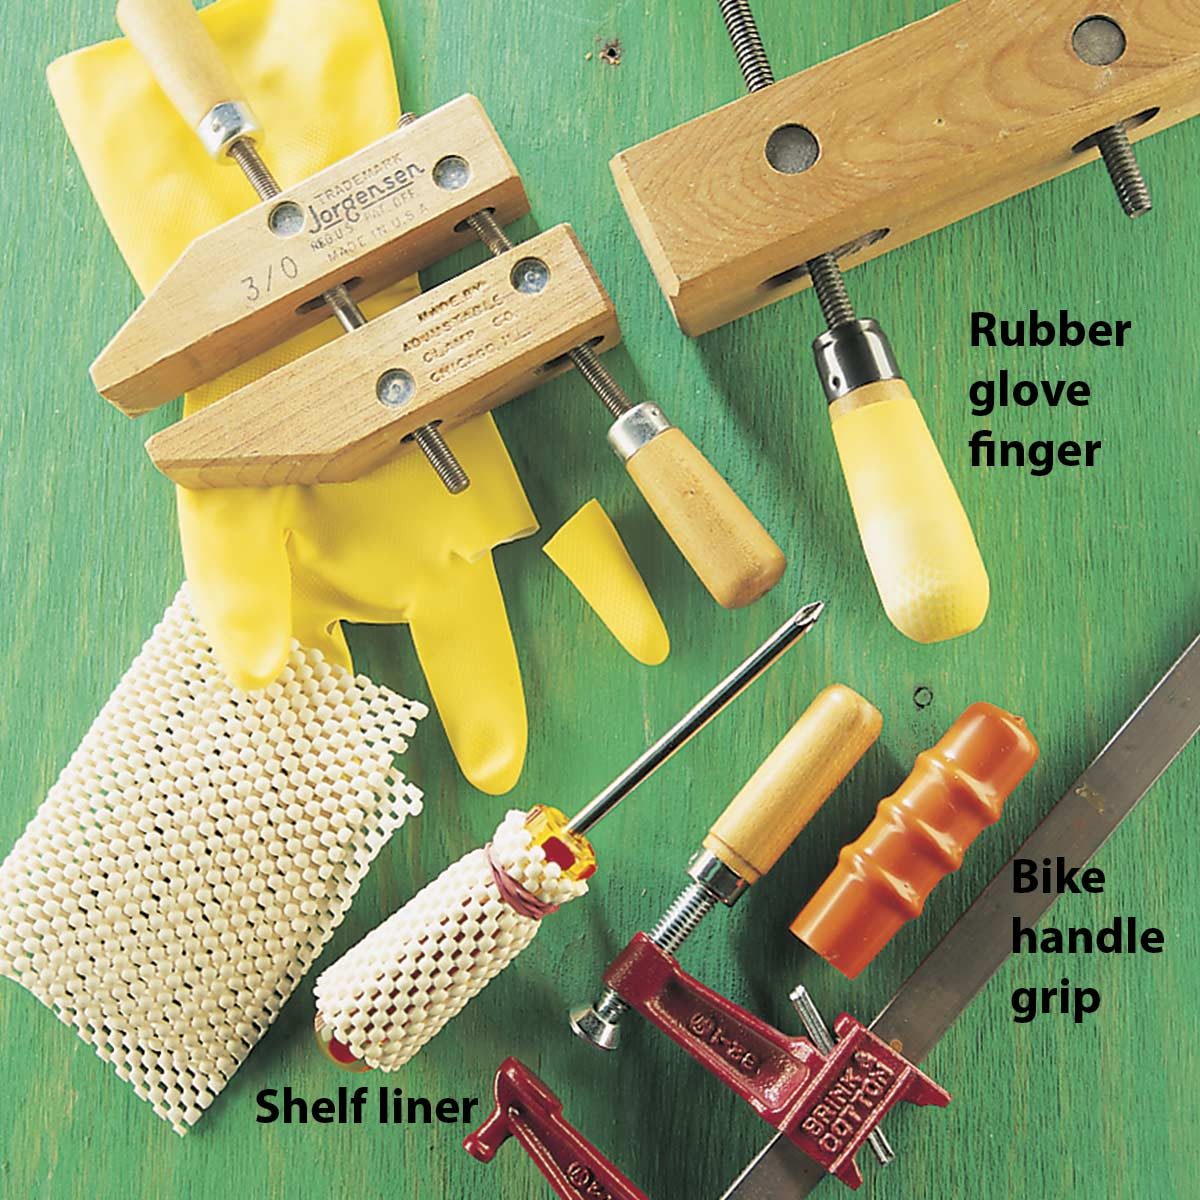
Woodworking bar clamps vice

Simple pipe clamps hack