We show you how to repair a punctured bike tube using simple tools.
Before you change your tyre, make sure your valve is working properly. So grab a pump, fill it with air, spit on your finger and rub it over the valve. If it a bubble appears, then you know your valve’s cactus.
In this case, the valve is fine, so we’re going to take the tyre apart. If you don’t have two tyre levers, you can use two spoons. They’re perfect for the job because they’ve got rounded ends and won’t hurt the inner tube.
Pop the first one in, second one here and run it around the tyre.
So now as we take the tube out, start at the bottom away from the valve, pull it out, all the way to the top and the valve’s the last section we pop out.
Here’s a tip. Run your fingers around the inside of the tyre and around the rim, as there’s no point changing the tube, if you’re only going to get another puncture.
So to find the hole in the tube, we’re going to pump it up and then we’re going to hold it under water, until we find the hole. And there it is.
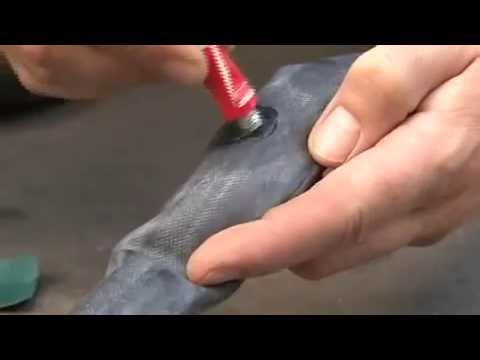
Now we’ve found the hole, we’re going to mark it with the crayon. Once it’s dry, grab a bit of sandpaper, scuff up the area and that’ll ensure that the glue sticks. Apply a dob of glue. Make sure you put enough on to cover the whole patch.
Get your patch squeeze it on and apply an even pressure until the glue sets.
Here’s another tip. Pump your tube up just a little bit as it’s going to help you get it back into the tyre. Open the tyre up. Start by placing the valve in the hole. Now work your way around, squeezing the tube back into the tyre.
Make sure the bead of the tyre isn’t pinching the tube as you push it back into the rim. Once it’s back in, you can pump it back up.
There you go. A couple of minutes work and you’re back on the road.