Watch the video: 7 Circular Saw Tips
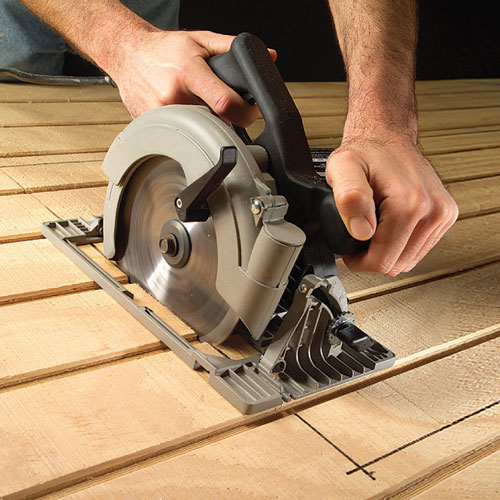
Any job that requires repetitive straight cutting calls for a circular saw, which uses a selection of disc-shaped blades to cut materials like timber, plastic and metal.
Buying cordless or electric depends on the intended use and your budget, as cordless saws cost more.
Electric models have better repetitive performance, making them the superior option in most cases.
When portability is an issue or it’s problematic to get mains power, cordless is the way to go.
For the DIYer an 185mm electric circular saw is a good size for general purpose use and not too heavy.
Making straight cuts
For accurate cuts, run the saw along a straightedge guide instead of trying to follow a cut line by hand.
Use a spirit level for short cuts and the factory edge of 19mm thick plywood for long cuts.
Measure the offset from the baseplate edge to the blade, adding the blade thickness if the piece being cut off is the one you need.
Add the offset to the cut width and mark the timber at both ends to clamp the straightedge in position.
TIP Make the cut with the offset side of the baseplate on the same side as the guide for saw stability.
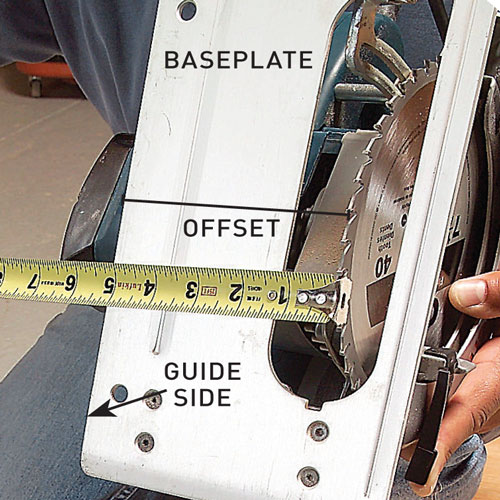
The offset is the distance from the blade to the edge of the baseplate.
Setting the depth
Having too much of the blade exposed while cutting makes the saw more likely to kick back.
To set the blade, determine the required depth by unplugging the saw and holding it against the timber with the blade guard retracted.
Loosen the depth adjustment lever and pivot the baseplate until the blade extends about 5mm lower than the timber, tightening the lever before cutting.
TIP The blade can also be set to cut less than the full thickness for making grooves or housings.
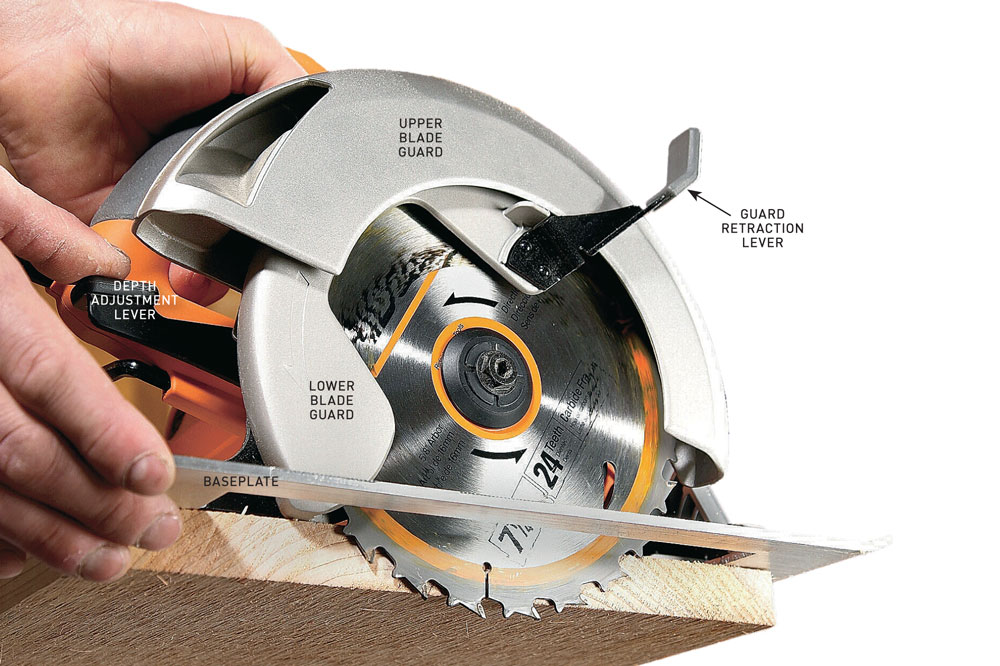
Adjust the baseplate up or down to set the blade to cut to a precise depth
Choosing blades
The more teeth on a blade, the smoother the cut. Use blades with 16 teeth for fast cutting along the grain, 24 teeth for general purpose cutting, and 40 teeth for sheet material or fine cuts in timber. Use specialty blades for material other than timber.
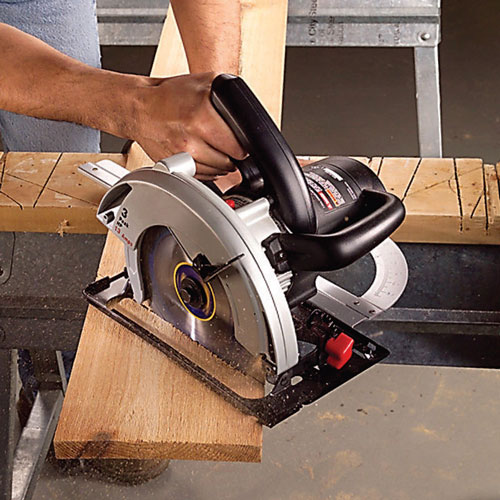
How to make bevel cuts with a circular saw
For tight mitred corner joints on eaves, deck surrounds or cabinetry you need to make perfectly square and straight bevel cuts. Use the blade angle indicator to set the required angle before tightening the tilt control on the saw.
Step 1. Set the depth of the cut
Start by unplugging the saw, retracting the blade guard and positioning the saw on the board. Adjust the baseplate until the blade extends about 5mm past the base of the board. Tighten the depth control lever.
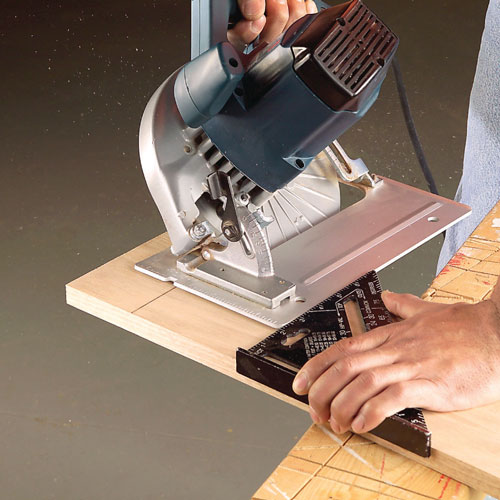
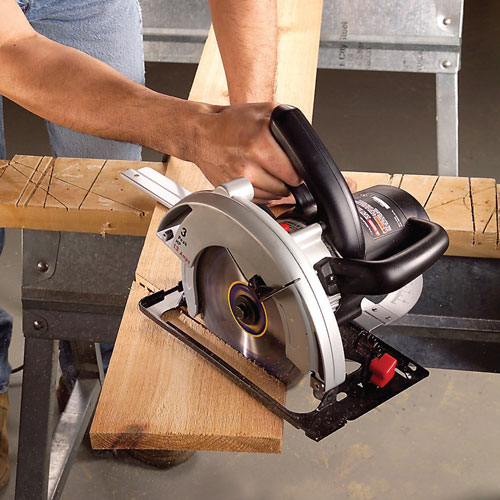
Step 2. Hold the speed square tight
Clamp the board securely to a level work surface then line up the front of the blade with the cutting mark. Slide a speed square against the baseplate then hold it tightly or preferably clamp it against the board.
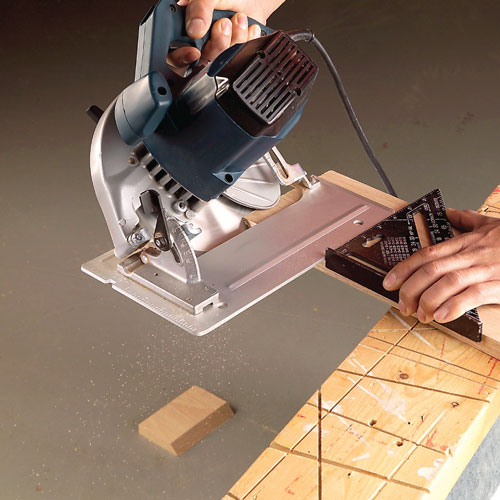
Step 3. Make the cut
Start your circular saw then nick the board with the blade to make sure it’s aligned, keeping the saw’s baseplate tight against
the edge and sliding the saw through the cut. Let the short piece drop free.

Step 4. Keep the saw steady
Maintain firm contact between the back of the saw baseplate and the square until the saw blade completely clears the board. Allow the blade guard to close before releasing the trigger.
How to make smooth angle cuts with a circular saw
Decks, pergolas and timber frames often require angled cuts to be made. The key is to use a guide with an adjustable arm that allows you to set the angle, or to clamp a straightedge at the desired angle to guide the saw baseplate.
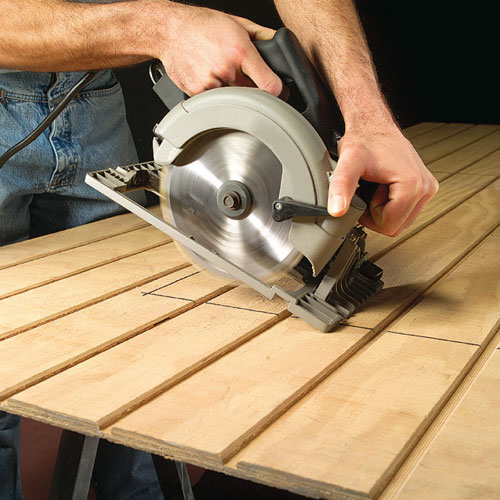
Step 1. Line up the saw and guide
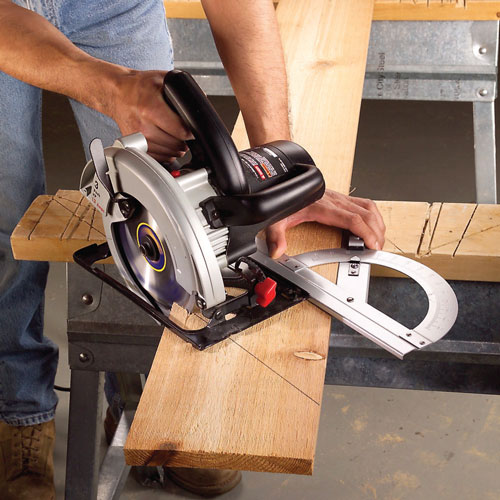
Step 2. Push into the cut
Start the saw and slide the baseplate against the guide, pushing the saw firmly and steadily into the cut. If the guard has been retracted release it about 30mm into the cut. TIP To retract the guard, clamp the guide.
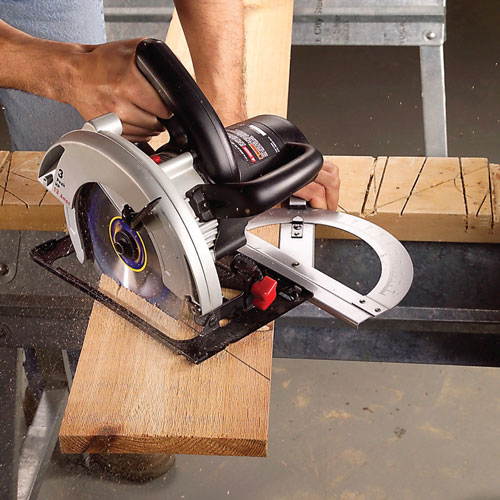
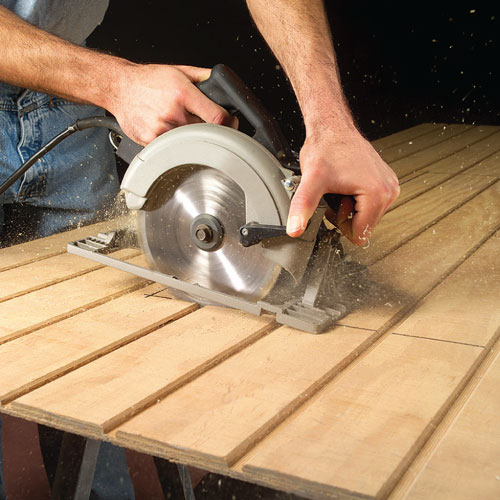
Step 3. Keep the saw moving smoothly
Concentrate on keeping the baseplate tight to the guide and the saw moving at a constant speed throughout the cut. Avoid stopping and starting, and be mindful to keep the cord free from getting snagged.
Step 4. Complete the cut
Keep moving the saw steadily forward while keeping the back of the baseplate in contact with the guide. Let the blade fully exit the timber and allow the blade guard to close before releasing the trigger.
How to make plunge cuts with a circular saw
When you can’t start a cut from an edge, like when making a window opening in sheet material, plunge cuts are very useful. Excellent technique is required for this potentially dangerous cut, as it presents a high risk of kickback.
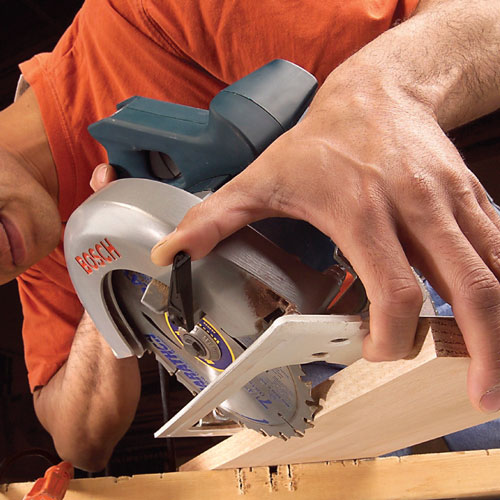
Step 1. Position the saw
Hold the front edge of the baseplate down firmly, aligning the 90º notch on the front of the saw with the cut line. Retract the blade guard with one hand and sight down the blade to align it with the cut line.
Step 2. Lower the blade into the timber
Start the saw and allow it to spool up to full speed. Gradually pivot the saw down to start the cut without moving it forward. Hold the saw firmly while making the cut to make sure it doesn’t kick back.
Step 3. Cut forward
When the back of the baseplate connects with the workpiece, release the blade guard and cut forward. Watch the front of the blade carefully to stop the cut at the corner. Let the blade fully stop before lifting it from the cut.
Minimising risk while making plunge cuts
Suitable for experienced DIYers only, plunge cutting can be a dangerous way of using a circular saw.
If you have any doubts in your ability, then enlist the help of someone capable and experienced.
Follow our tips for safe plunge cutting.
- Plan and prepare each cut.
- Ensure the blade is sharp and in good condition.
- Keep the cord clear of the work area, making sure it will travel unhindered with the saw.
- Make sure you can perform the cut without the saw being obstructed from above or below.
- Have secure footing and tuck in loose clothing, hair and jewellery.
- Take your time and let the saw do the work.
- Ensure that you are wearing all of the appropriate safety equipment.
How to test the accuracy of a cut
The two notches at the front of the baseplate indicate the position of the blade when making cuts, when it’s either at 90º or tilted to 45º. Position the edge of the notch on the line, with the blade on the waste side.
If using a straightedge guide to cut large pieces of sheet material such as plywood, check the guide is accurately positioned by starting the saw and pushing it forward to just barely nick the edge.
Check the width of the cut stays on the waste side of the line and if it’s slightly over, adjust both ends of the guide to correct it.
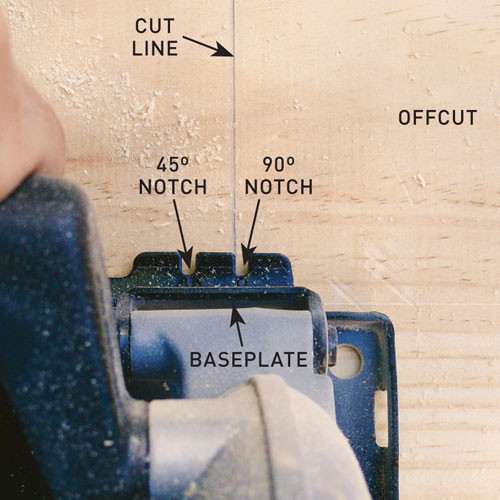
The two notches at the front of the baseplate indicate the position of the blade when making cuts
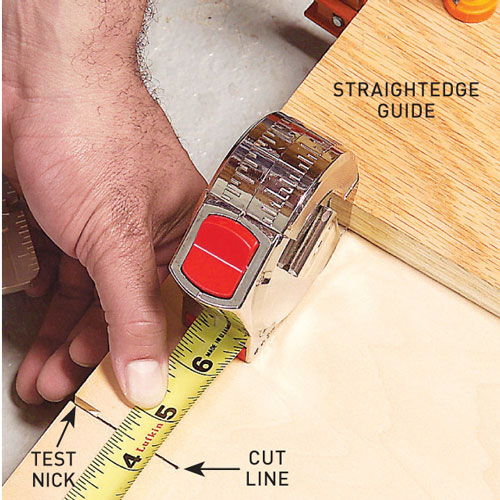
Check the width of the cut stays on the waste side of the line and if it’s slightly over, adjust both ends of the guide to correct it.
Using the cutting guide
To use the factory edge of a piece of timber for accurate cuts along the grain, use the T shape cutting guide called a ripping or side fence that normally comes with the saw.
The fence is secured using a bolt that can be tightened with a shifter, screwdriver or by hand if a wingnut.
Slide the fence through the slots in the baseplate, adjusting it so that the distance from the outside of the blade to the inside of the fence is
the width of the desired cut.
TIP Add an extra 1mm to allow for the fact the teeth splay out slightly wider than the blade thickness.
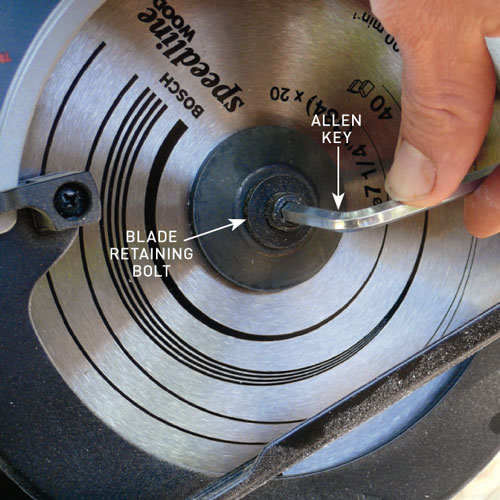
Replacing the blade
To change a blade, first disconnect the power then loosen the bolt that keeps it secure, turning it in the same direction as the rotation of the blade, which is anticlockwise.
Most saws feature a spindle lock button that locks the blade so the bolt can be loosened and a new blade secured.
If yours doesn’t, use a clamp or pair of locking pliers to immobilise the blade before loosening the bolt, usually with an Allen key.
Change the blade if it’s blunt or worn, especially if you are planning to cut hardwood and the tungsten carbide teeth are chipped.